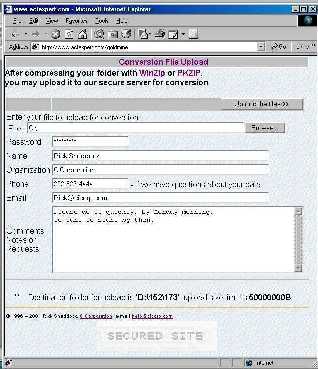
Upload the ZIP file from SalesForce to us using the form at http://ACTConvert.com/send
Then you can clean up, sort, search, modify, and analyze your data. Or you can convert it to other formats.

|
|
|
|
|
|
Sales and Opportunities
Salesforce associates Sales & Opportunities with Accounts (or Companies) while ACT! associates them with Contacts (individuals) so after the conversion, we need to associate them with a primary contact. The Sales & Opportunity will still be listed on the Opportunities list, showing the Company.
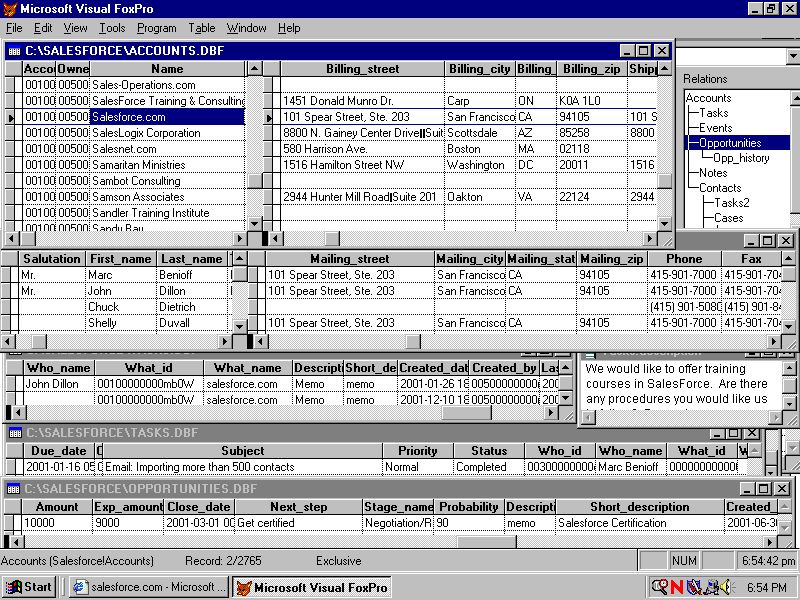 Same record in SalesForceFox (Click to enlarge) |
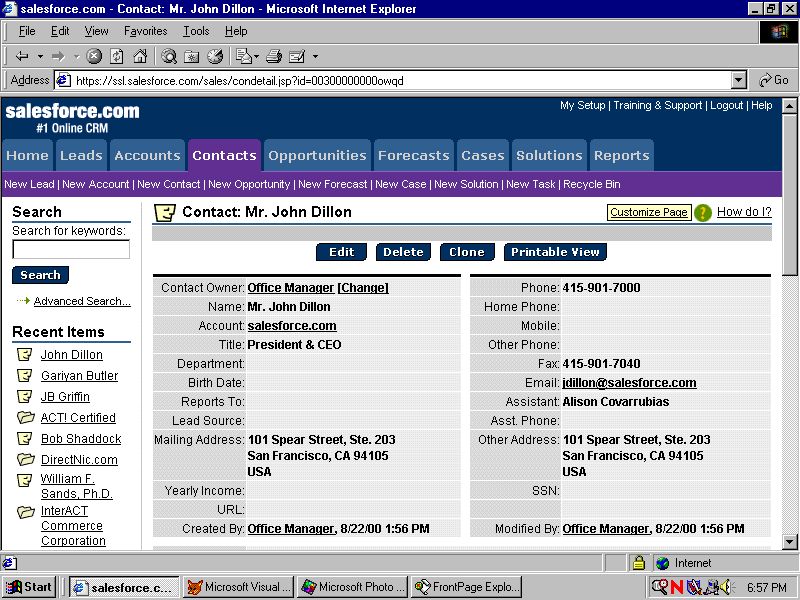 SalesForce.com record (Click to enlarge) |
How to download your data from SalesForce.
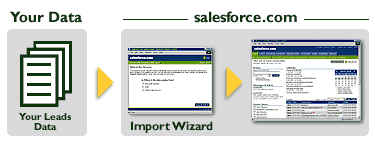
| Use this wizard to import leads from any comma separated values file. | ||||||||||||||
|
|
||||||||||||||
| Note: This wizard imports information into leads. Go to Import My Organization's Data to import contacts and accounts. | ||||||||||||||
|
||||||||||||||

![]()
We have studied and mastered the SalesForce and ACT! data structures, so you can benefit from our experience and get the job done right and quickly the first time.