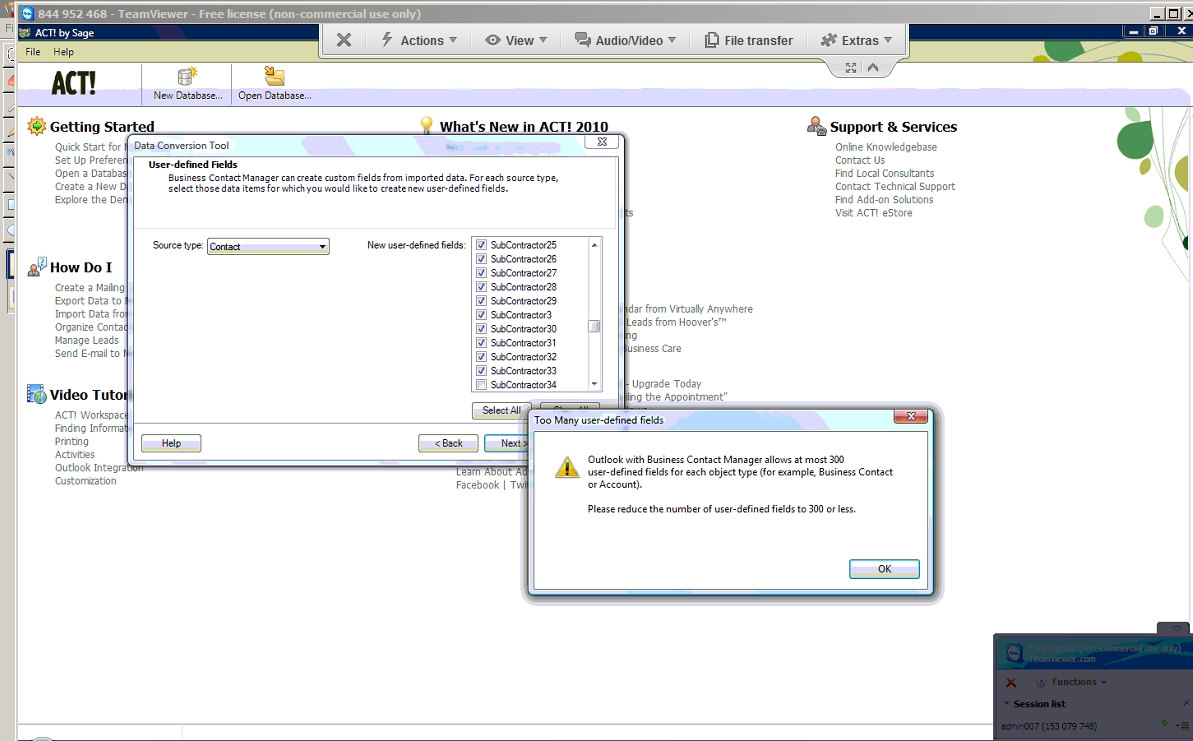
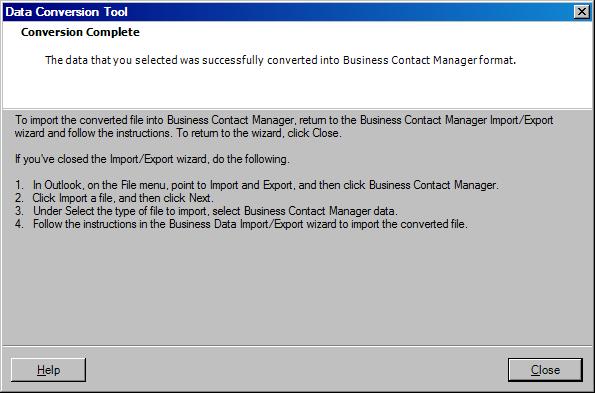
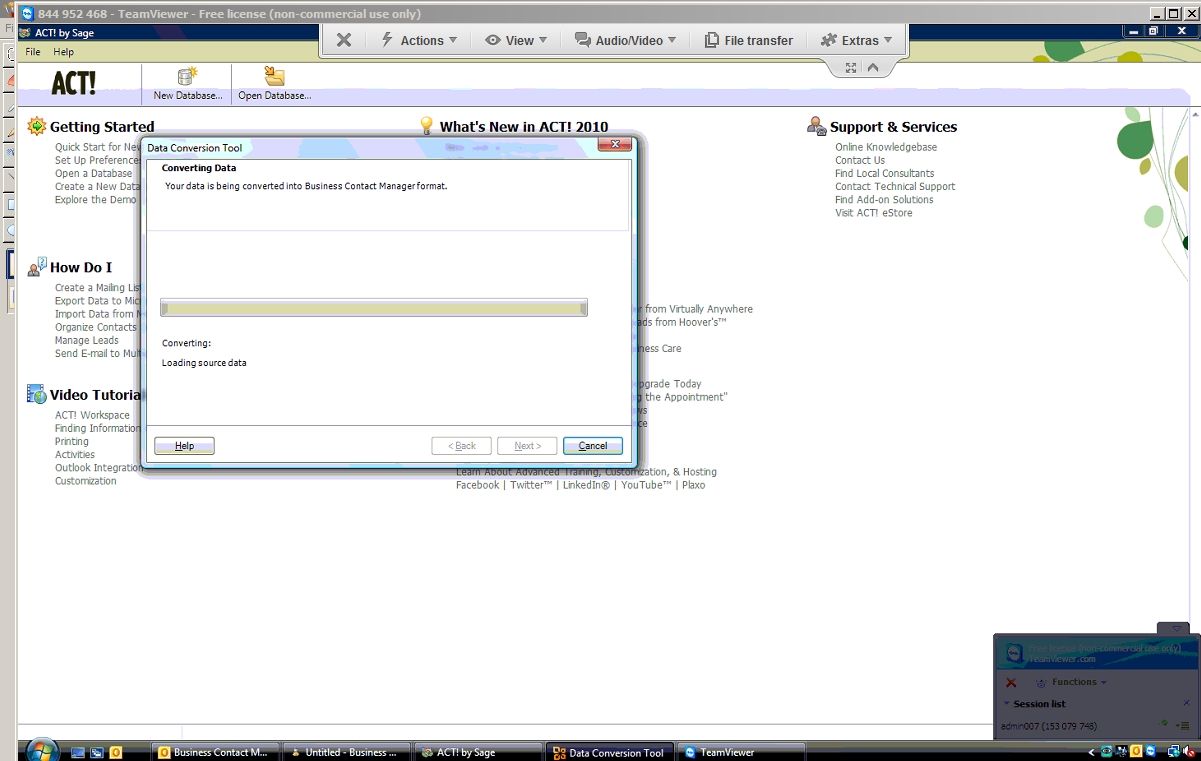
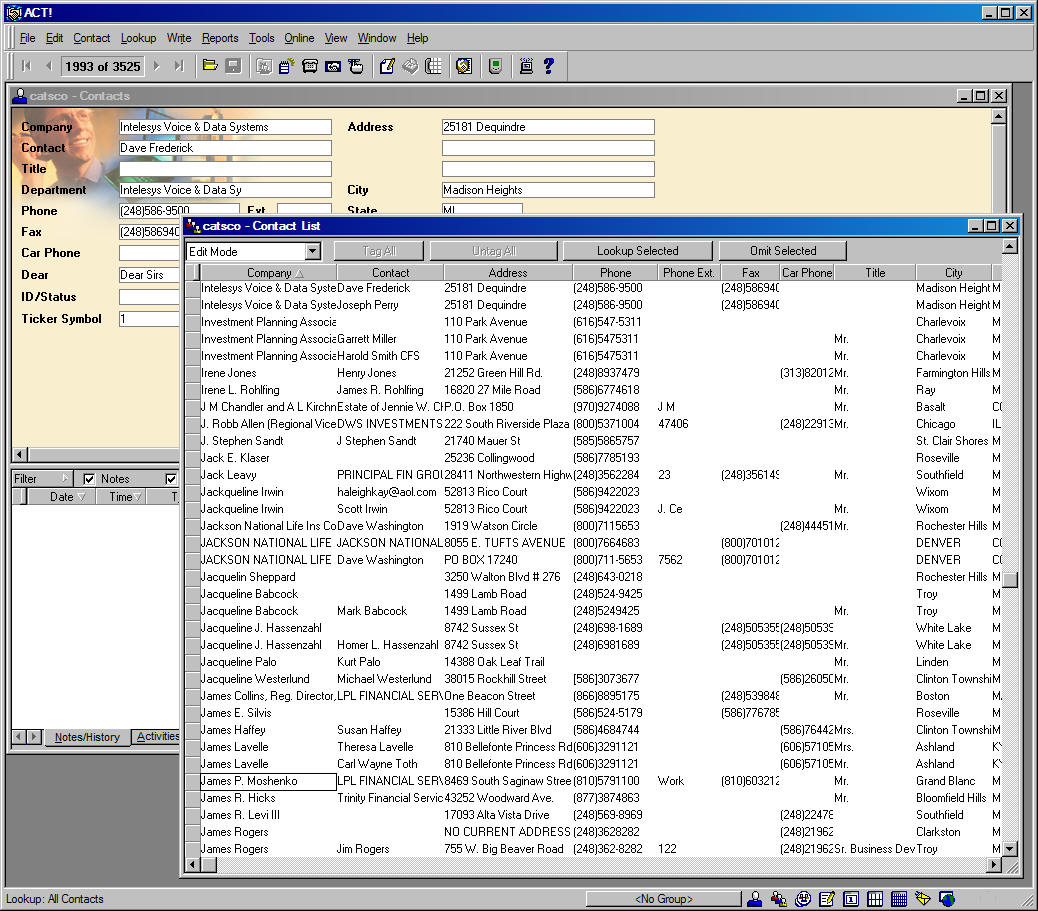
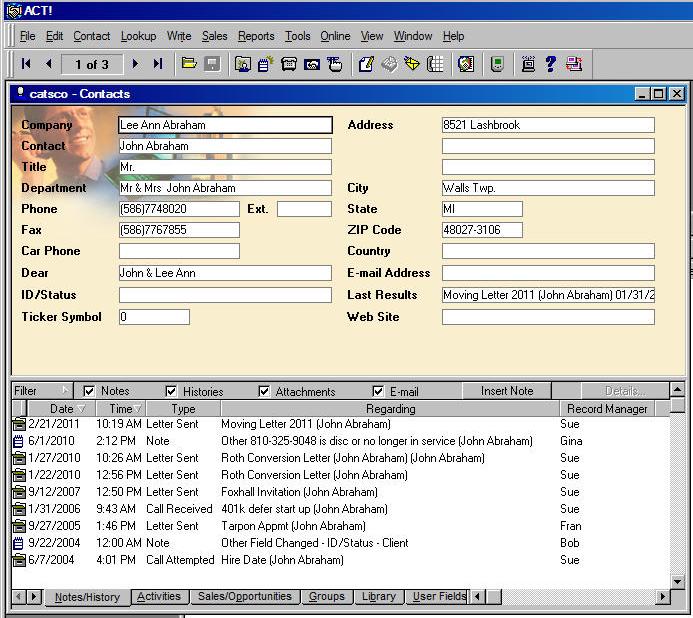
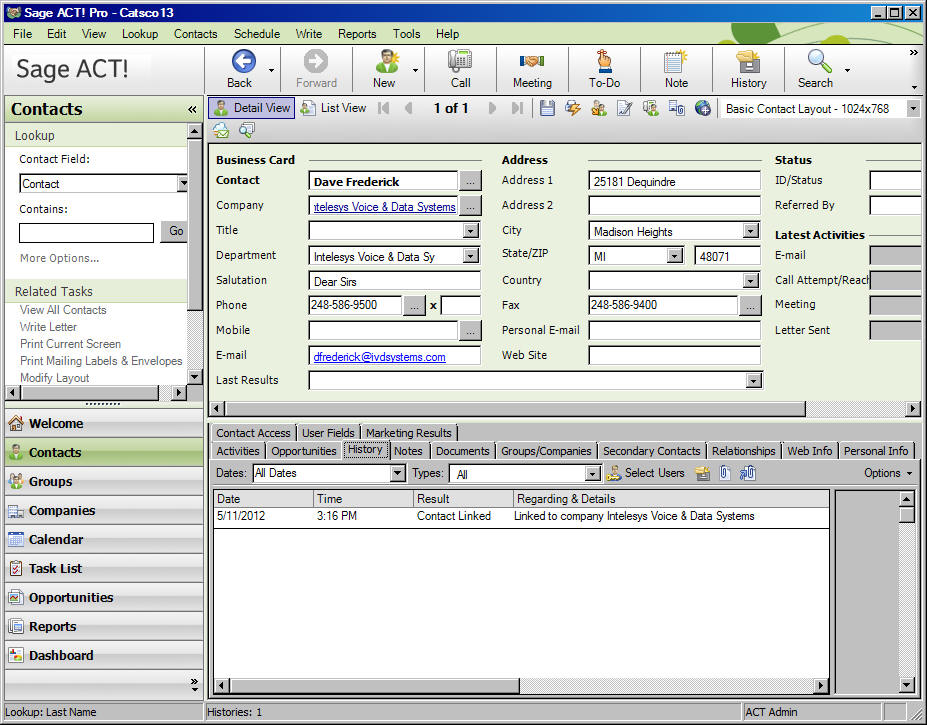
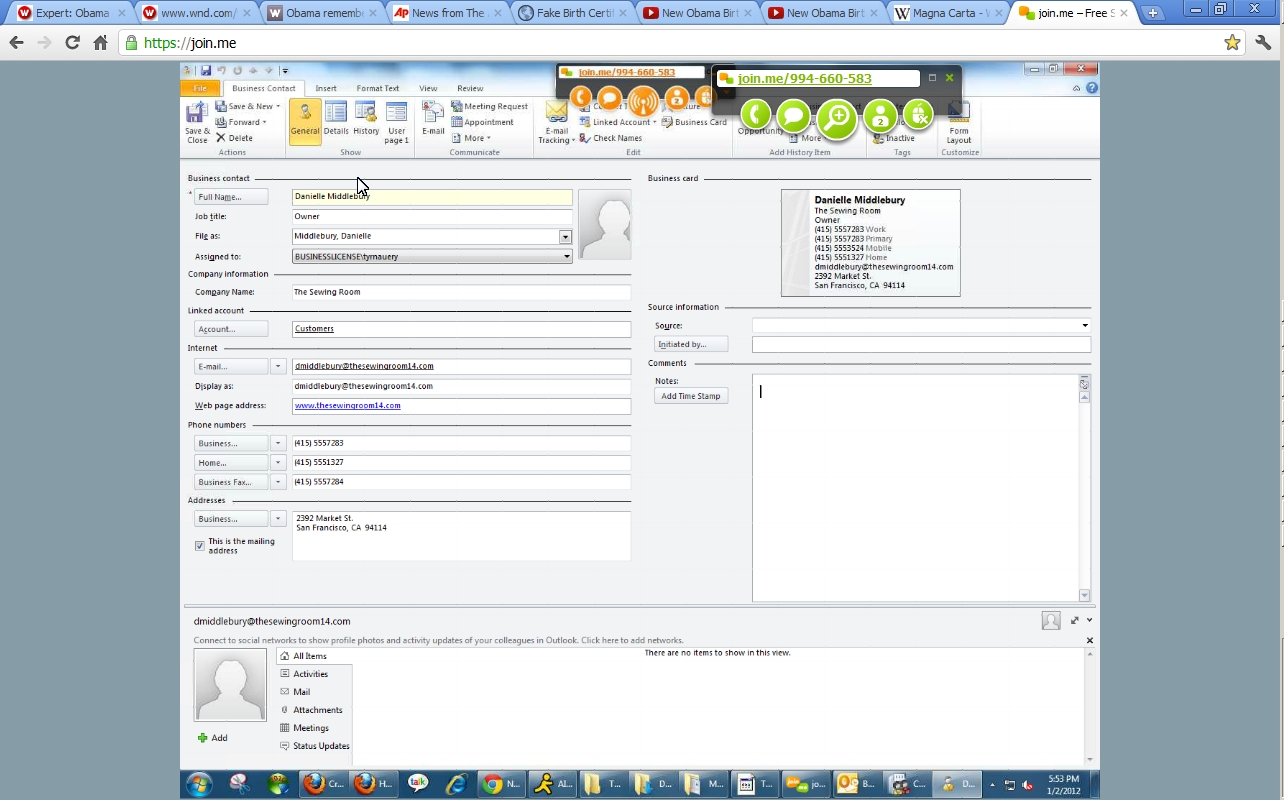
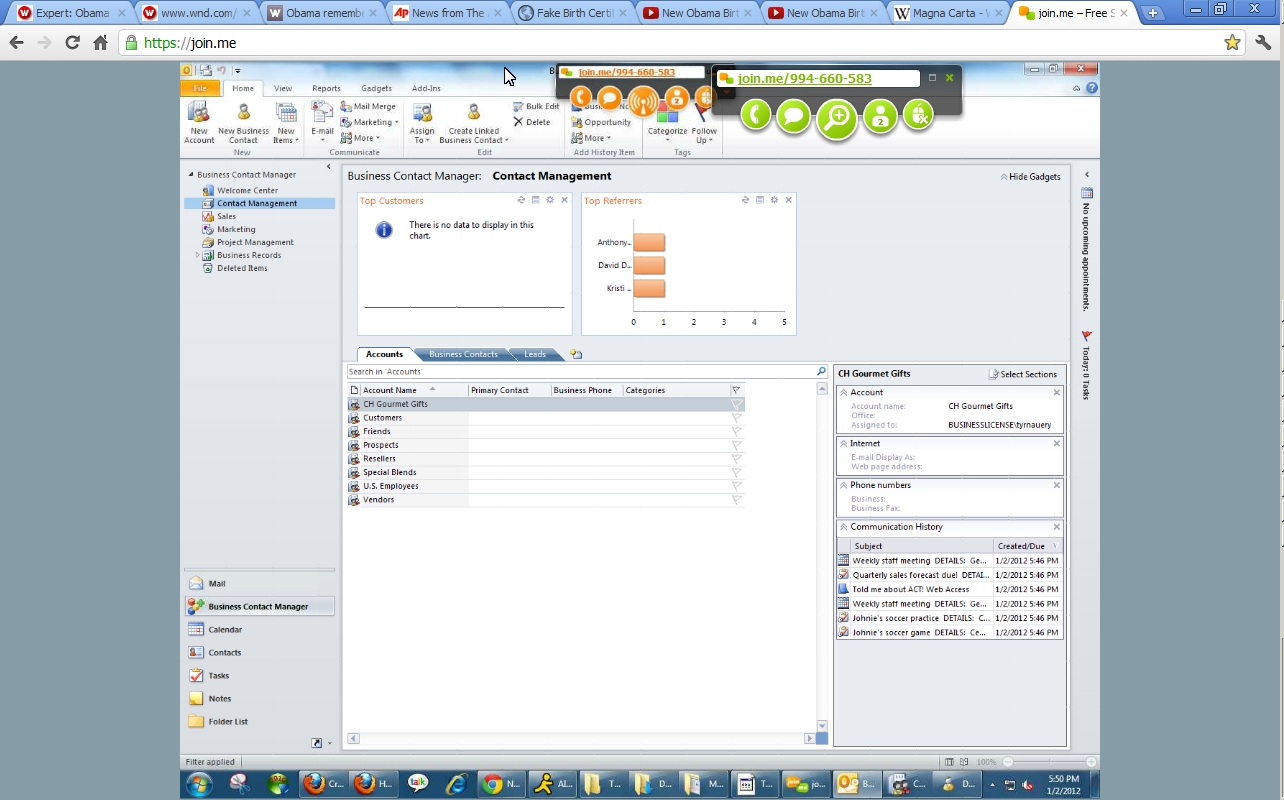
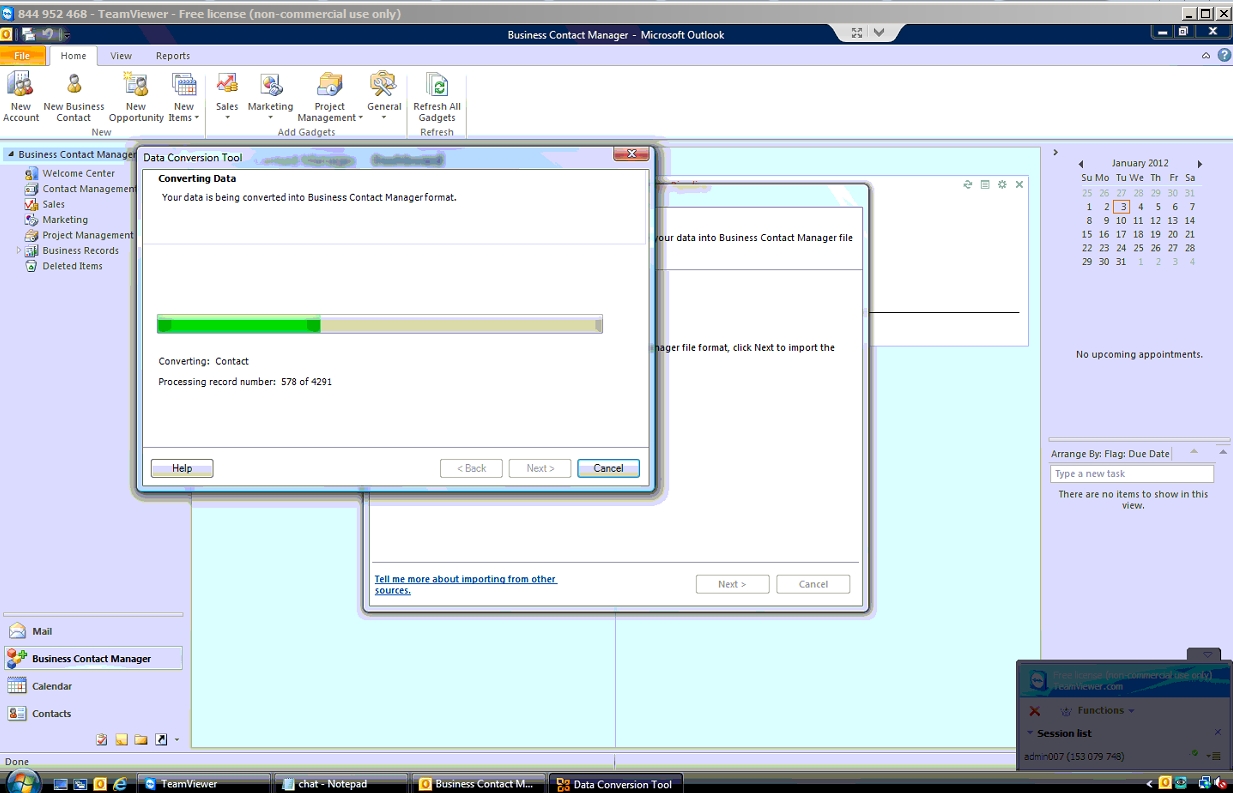
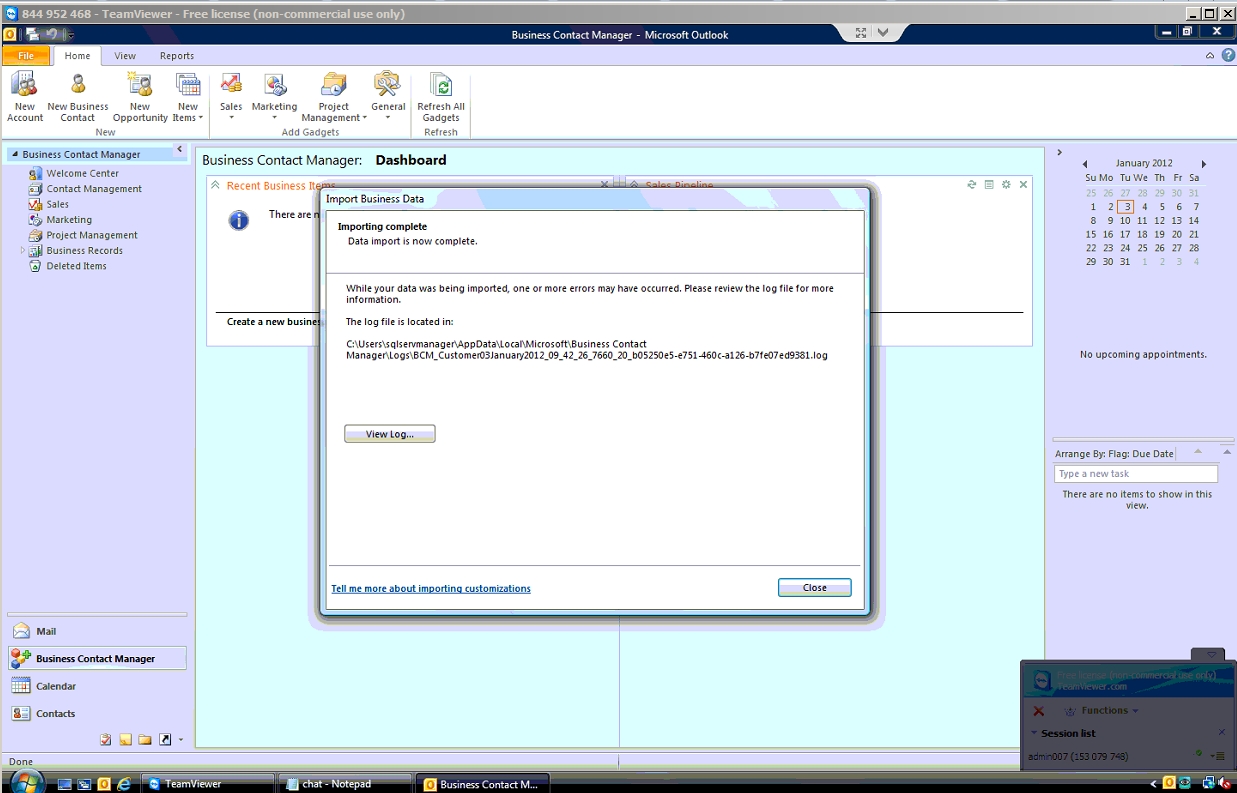
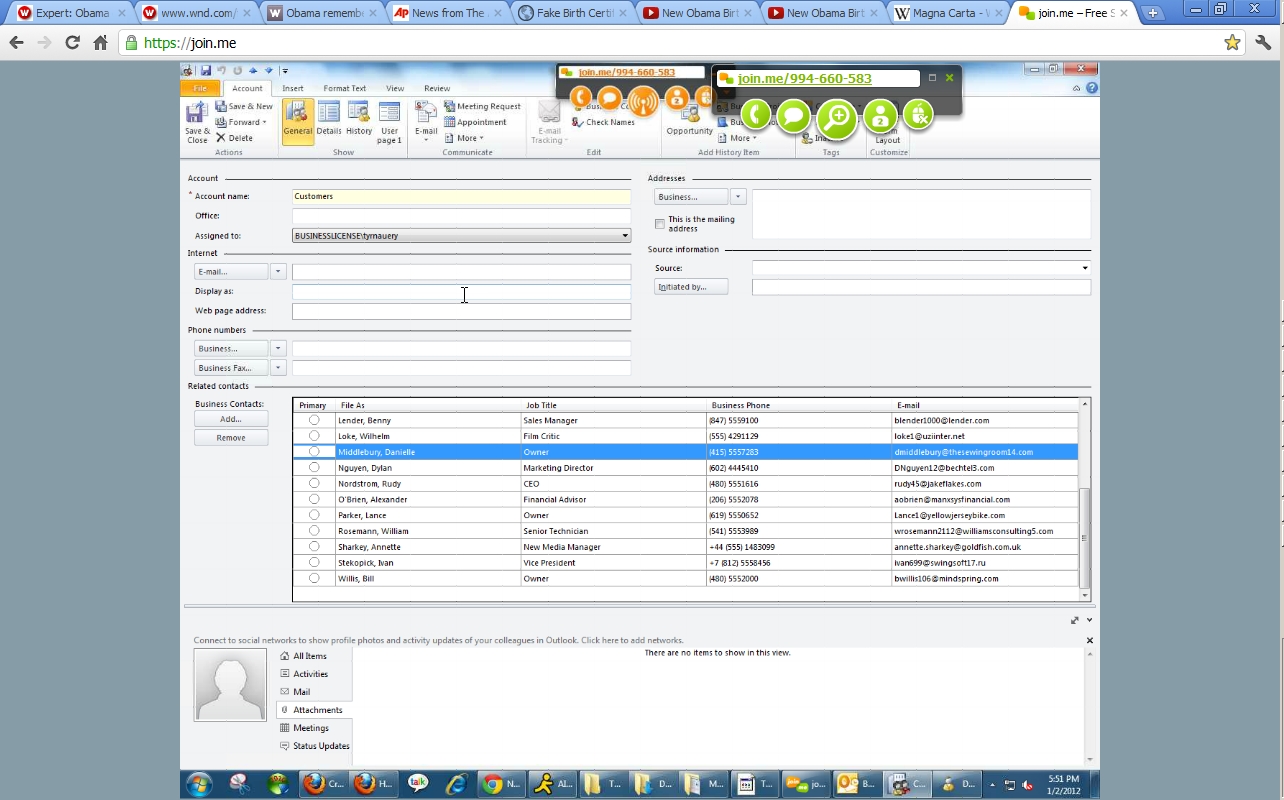
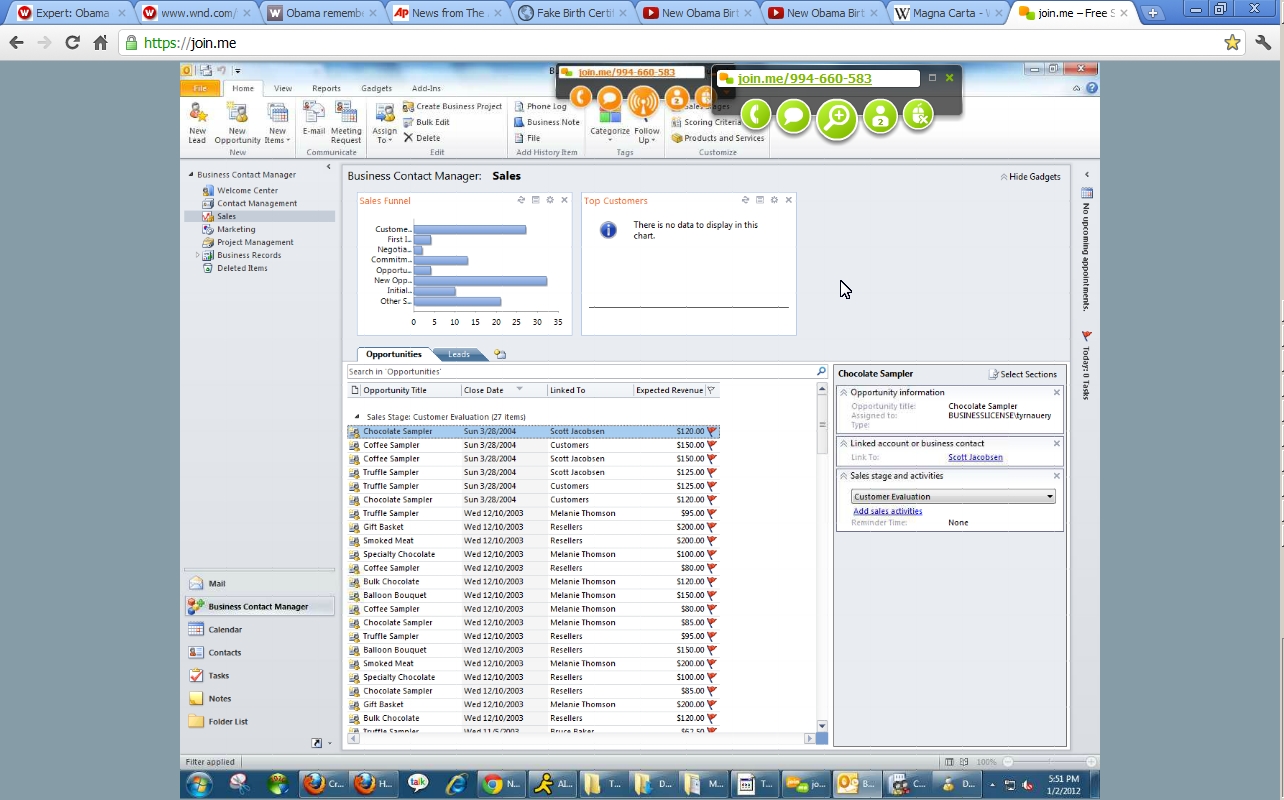
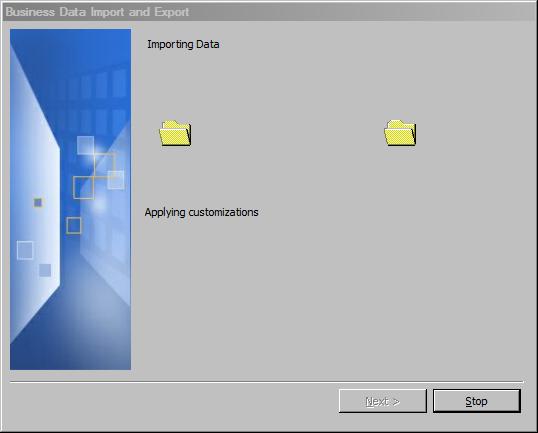
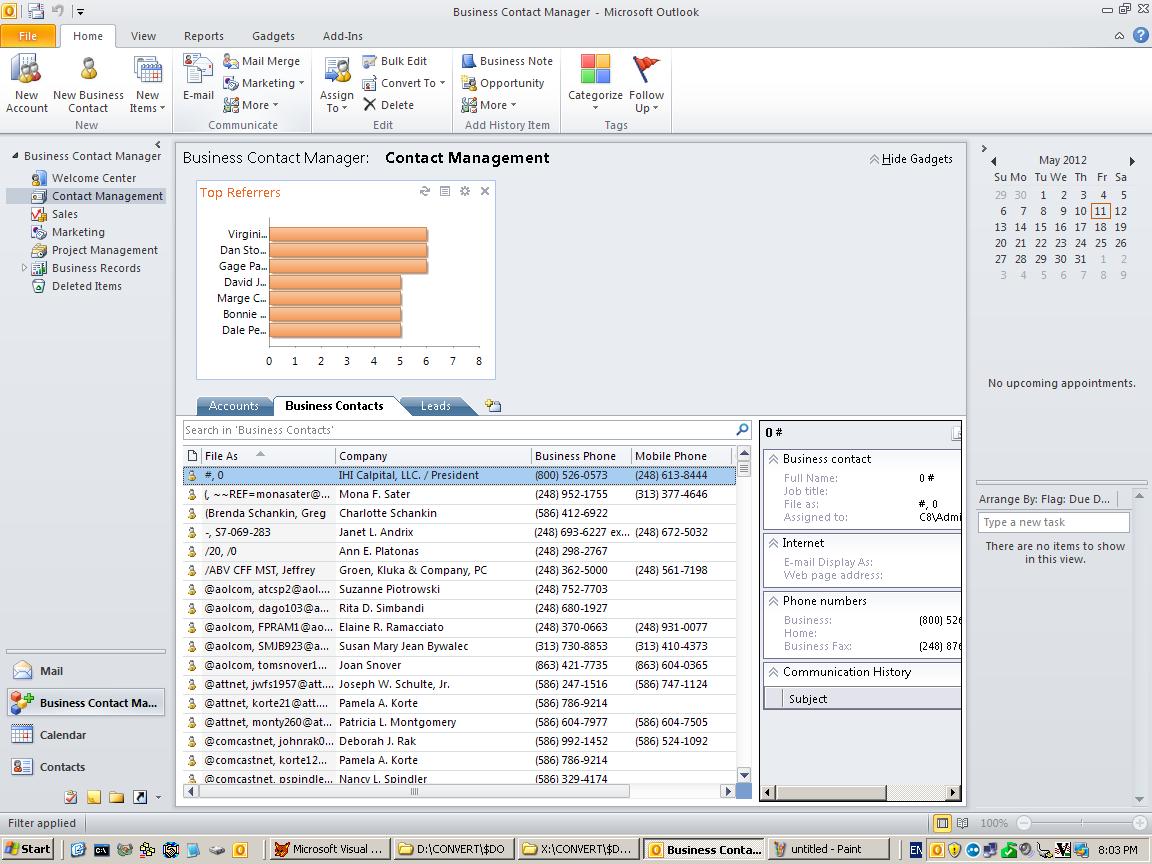
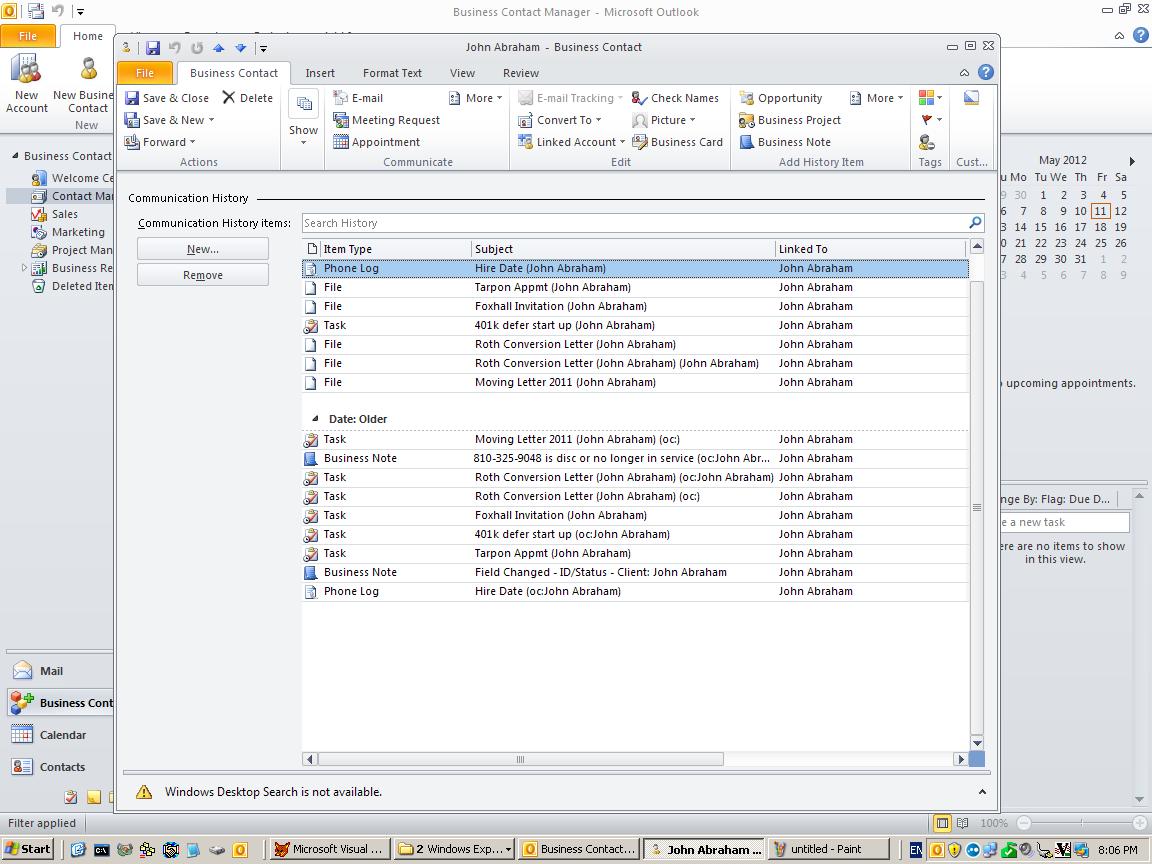
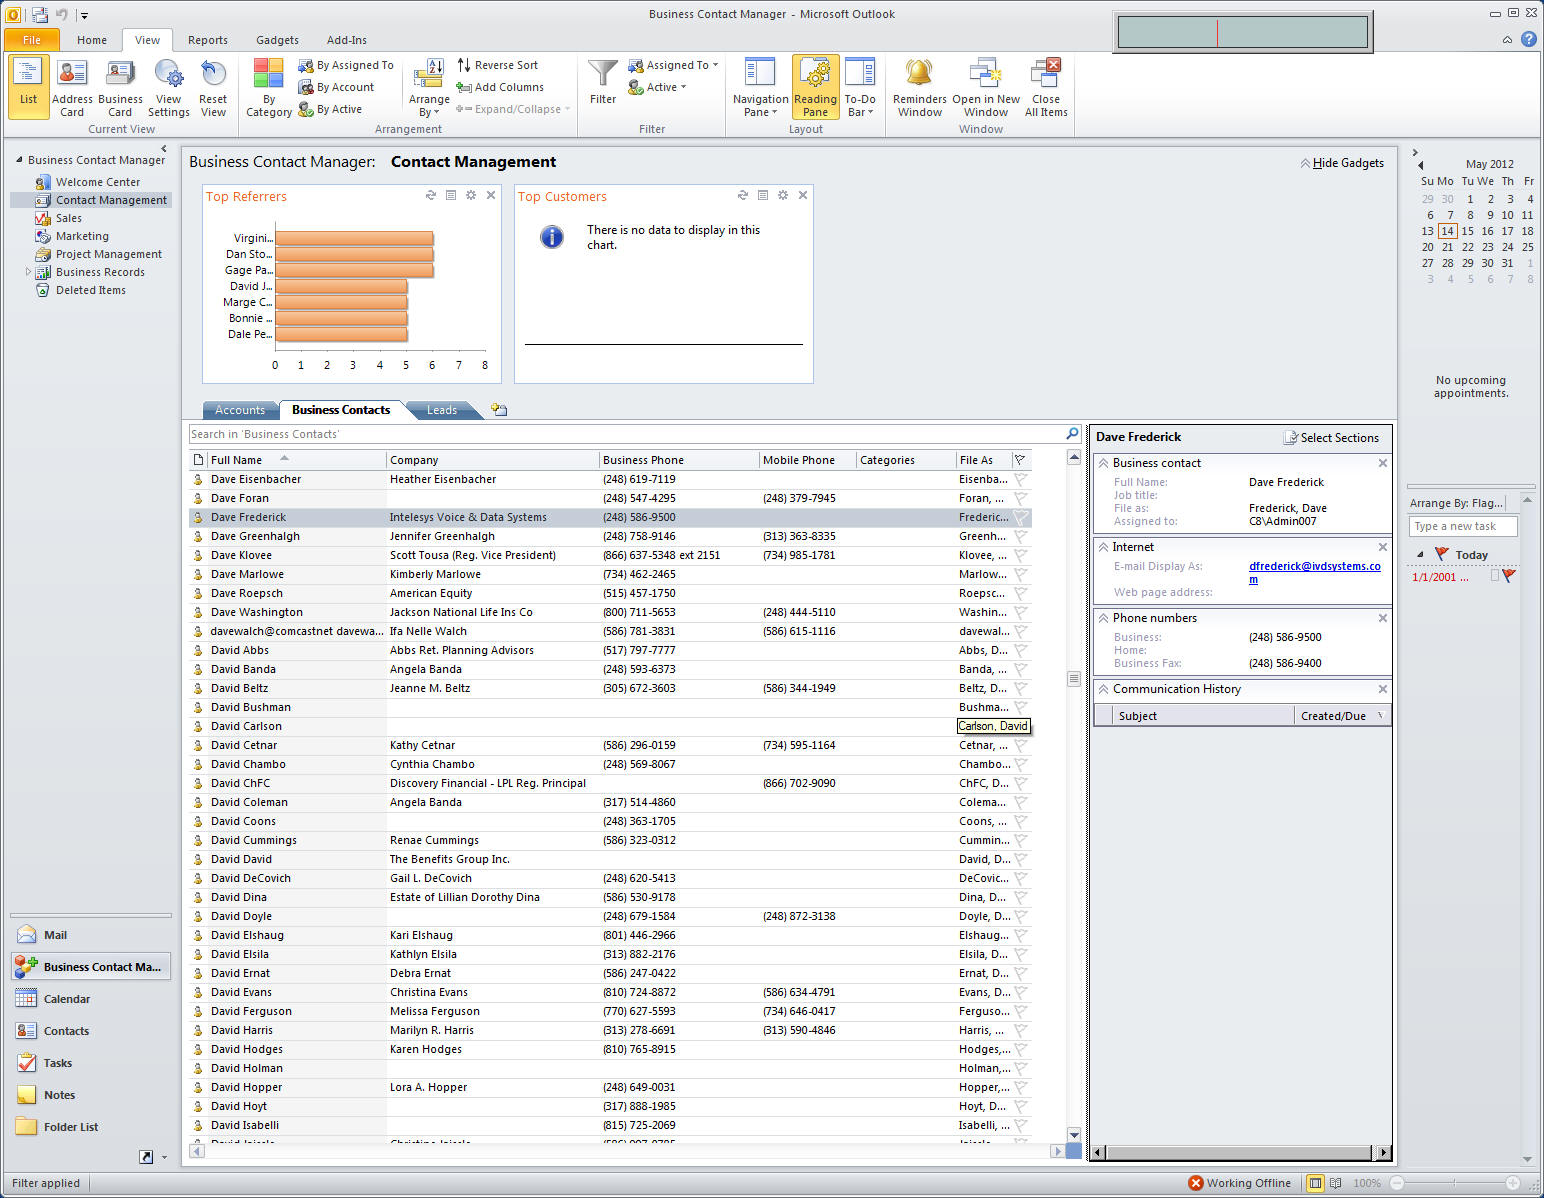
Import a file from ACT! 
                      Notes
                      
                        - Before you begin the import process, make sure that 
                        you have backed up your Business Contact Manager data.
                        
- The import process cannot be reversed automatically. 
                        Once you import items, you must manually delete them to 
                        undo the import.
                        - On the File menu, point to
                        Import and Export, and then click
                        Business Contact Manager. 
- Click Import a file, and then 
                        click Next. 
- Select the type of ACT! or QuickBooks file that you 
                        want to import, and then click Next.
                        
- Click Convert Data to convert 
                        your data into Business Contact Manager file format.
                        
- In the Data Conversion Tool, 
                        click Next. 
- Select the program that created the data that you 
                        want to convert, and click Next. 
- Browse to the file that you want to convert, and 
                        click Next, 
- Select the location for the converted file, and 
                        click Next. 
- When you are ready to convert the data, click
                        Next. 
- Click Close. 
- After you convert your data, return to the
                        Business Data Import/Export Wizard 
                        and follow the instructions to import your data.
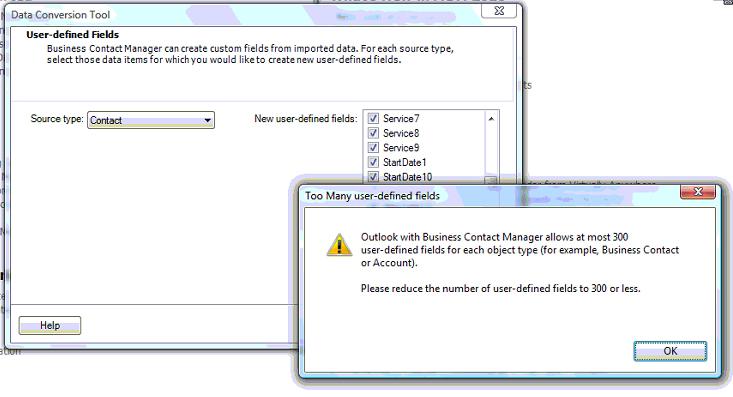
                        To get assistance with a page in the wizard, click
                        Help on that page.  
 Note   Business Contact Manager 
                      for Outlook cannot import ACT! files that are read-only. 
                      Read-only is an attribute or property of a file. To change 
                      the read-only attribute, find the file on your computer, 
                      right-click it, click Properties, and 
                      then clear the Read-only check box. For 
                      more information about how to change the read-only 
                      attribute of a file, see Windows Help.
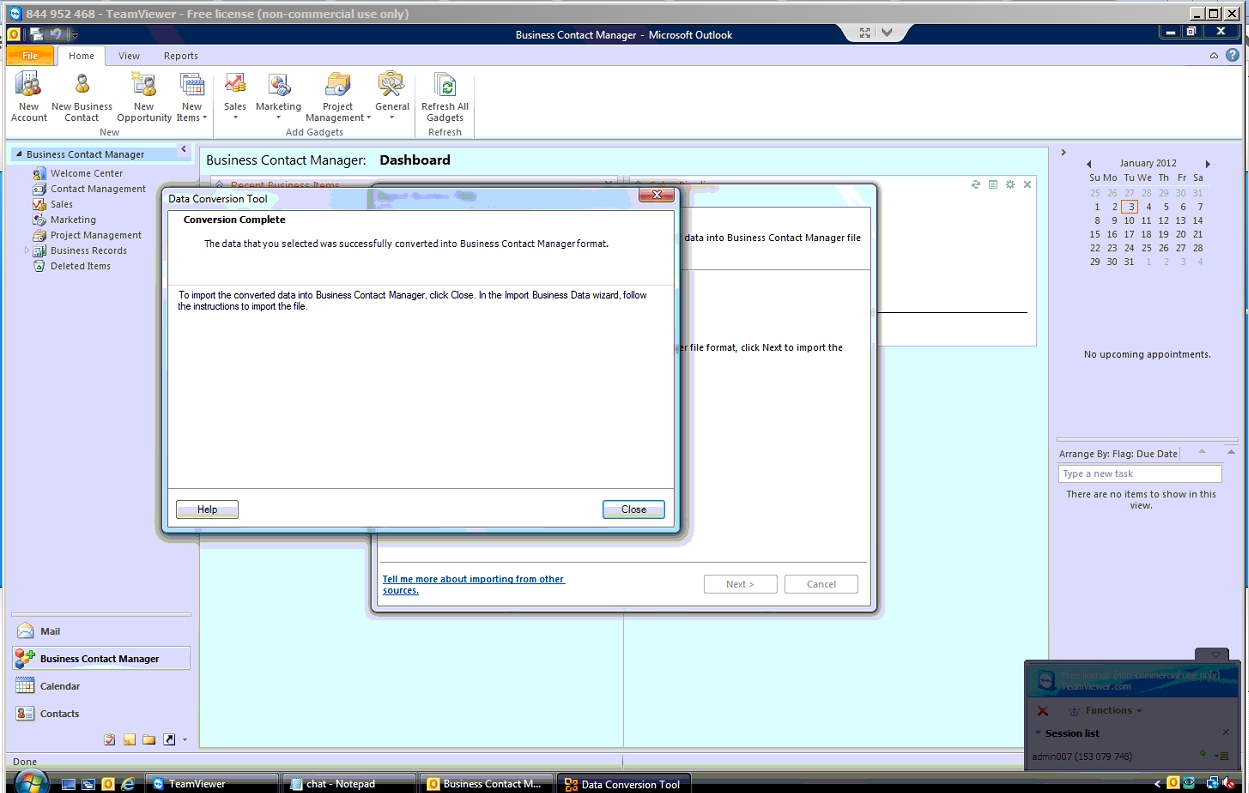
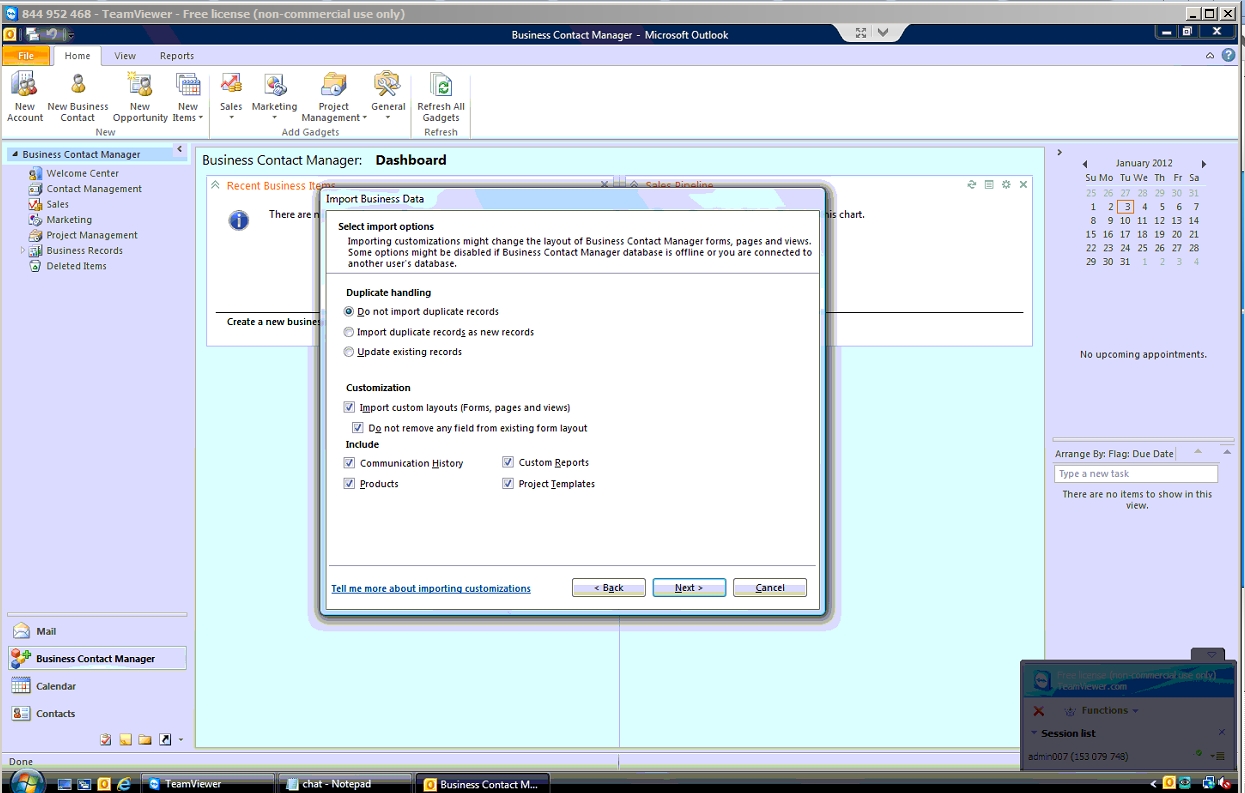
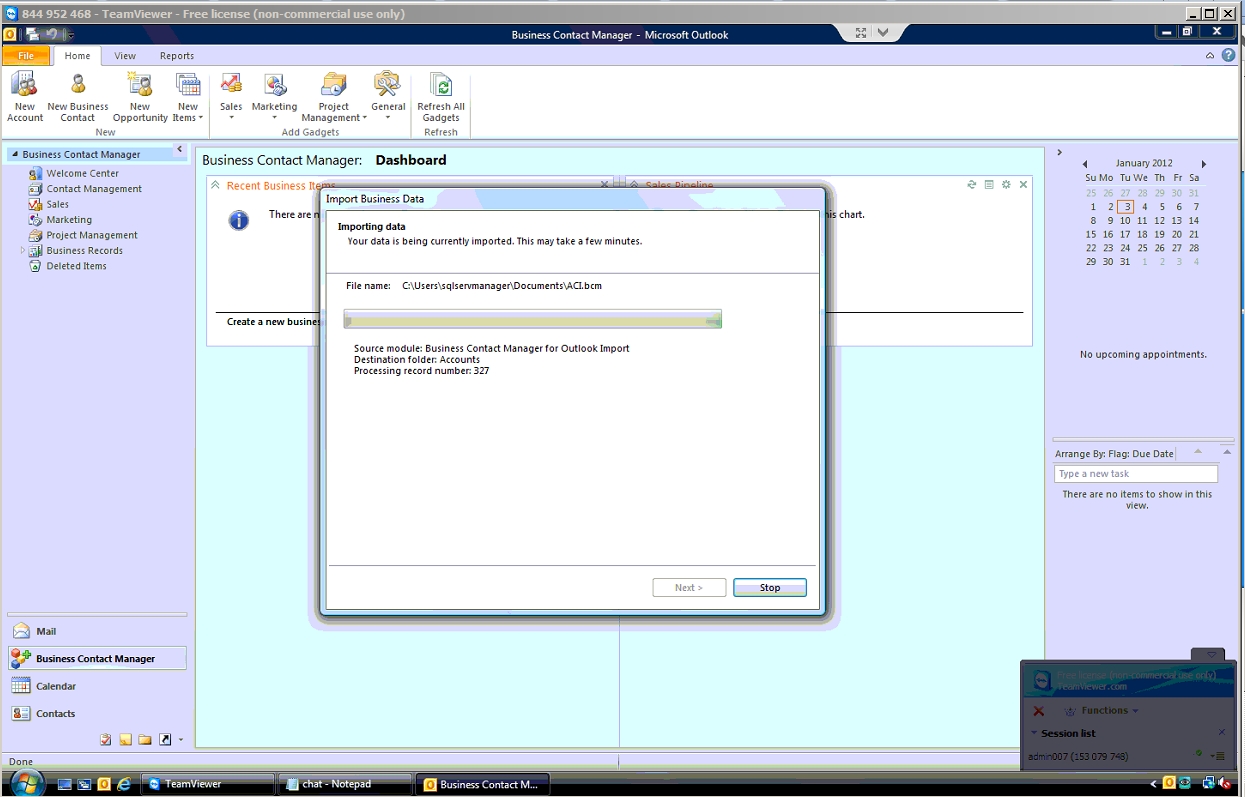
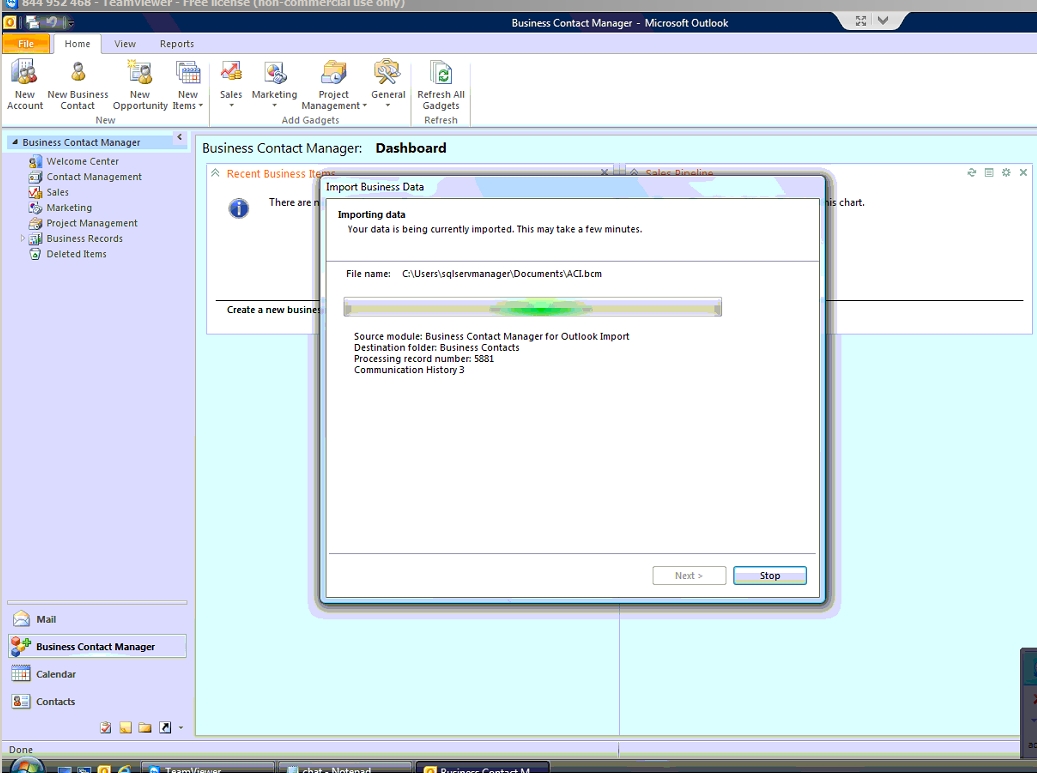